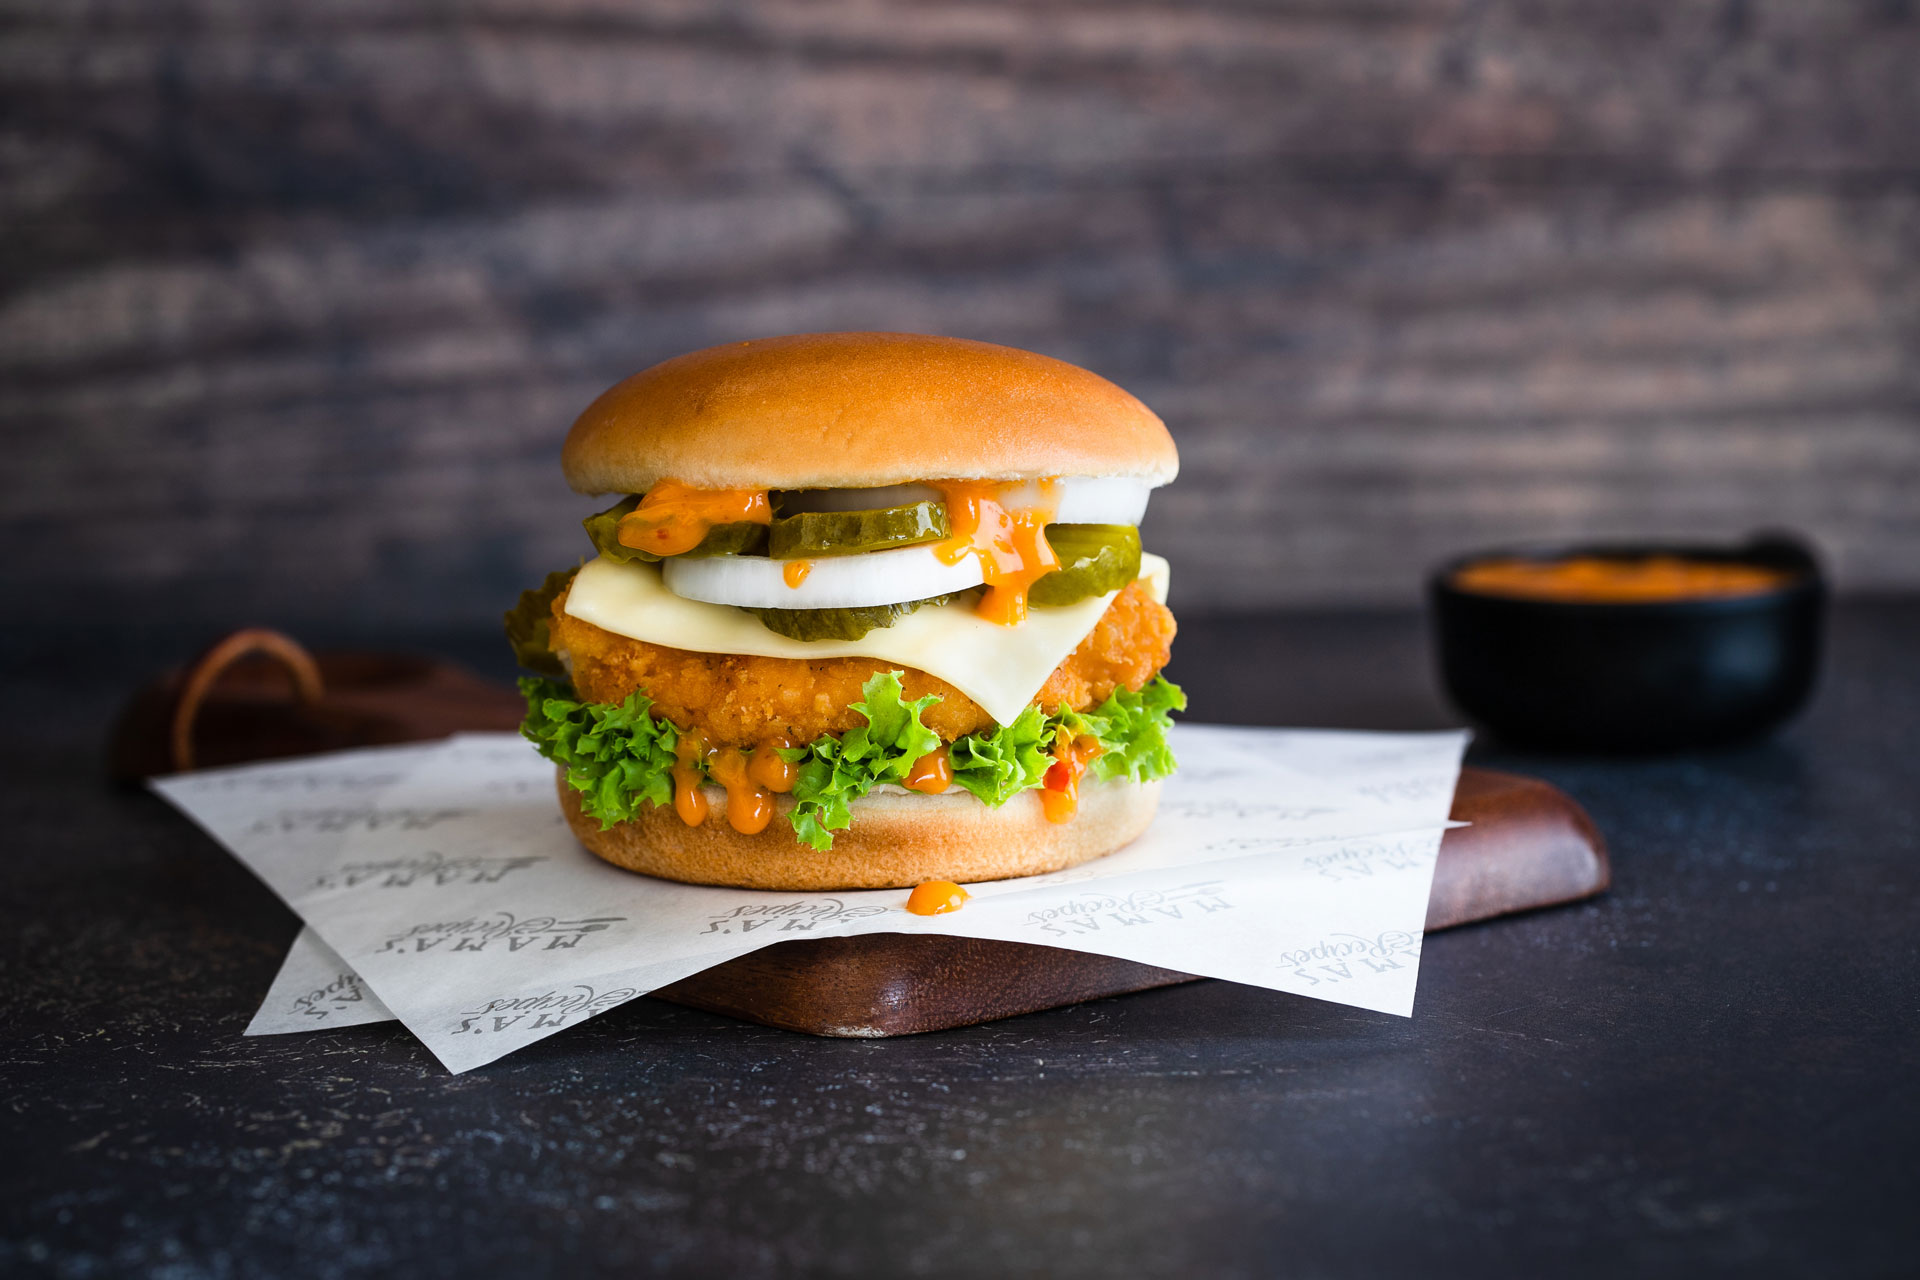
Top 10 Must-Have Photography Tips for Capturing Stunning Food Shots
When it comes to capturing stunning food shots, having the right techniques can make all the difference. Here are the top 10 must-have photography tips to elevate your food photography game:
- Use natural light: Soft, diffused sunlight works wonders in bringing out the textures and colors of your dish.
- Choose the right angle: Experiment with different angles, like overhead shots or 45-degree perspectives, to find the most appealing composition.
- Invest in a tripod: Stability is key in food photography, and a tripod ensures sharp, well-composed images.
- Pay attention to styling: Arrange your food thoughtfully and consider adding props that complement the dish.
- Focus on colors: Use vibrant ingredients to create a visually striking plate that draws the viewer in.
In addition to these initial tips, don't underestimate the power of editing. With just a few adjustments, you can enhance colors and brightness, making your food photos even more appealing. Understanding composition is also crucial; the rule of thirds can create a more dynamic shot. Lastly, always remember to clean your lens before shooting, as even the smallest smudge can ruin a great photograph. Follow these top 10 must-have photography tips, and you'll be well on your way to capturing delectable images that will leave your audience craving more!
The Art of Plating: How to Make Your Dishes Shine in Photos
When it comes to food photography, the art of plating is crucial to creating visually stunning dishes that captivate your audience. Start with a clean, neutral-colored plate that allows the colors of your food to pop. Use height and layering to add dimension; for instance, stack ingredients or use a ring mold for grains and salads to create a sense of structured elegance. Additionally, consider the rule of thirds when placing your food on the plate, ensuring that the most visually appealing elements draw the eye.
Another key aspect of plating is the use of garnishes and sauces. A well-placed drizzle of sauce or a sprinkle of microgreens can elevate a simple dish into a work of art. Remember to keep it relevant; your garnishes should complement the flavor profile of the meal. Don’t forget to wipe any spills or smudges from the edge of the plate to maintain a polished look. Ultimately, the goal is to create a plate that looks as good as it tastes, enticing your audience to dive into the experience.
What Lighting Best Enhances the Color and Texture of Your Food?
When it comes to showcasing the vibrant color and intricate texture of food, the right lighting can make all the difference. Natural light, especially during the golden hour—the hour after sunrise and before sunset—provides a warm, diffuse glow that enhances the natural hues of fresh ingredients. For instance, fruits and vegetables appear more vivid, while the sheen of sauces and glazes is accentuated. If you're shooting indoors, positioning your setup near a window can significantly improve your results, capturing the essence of your dishes without the harsh shadows that artificial lighting often creates.
In situations where natural light isn't an option, soft artificial lighting can be beneficial. Using a light source with a color temperature around 5000K mimics daylight and adds a balanced tone to your food photography. Additionally, employing a diffuser can soften the light, reducing harsh reflections and enhancing details in the texture of your food. For culinary presentations that require a bit more drama, consider using backlighting or side lighting techniques. These approaches not only highlight the colors but also create depth, making each dish pop visually.